I first started “woodworking” back in the Spring of 2017, I got a Kreg jib and a 10” Craftsman miter saw for Father’s Day that year. It didn’t take me very long to start lusting over the workbenches with things I didn’t even understand stuck into these holes drilled all over the top of them. Not long after I hobbled together my first excuse for a bench that treated me well at the ability level I had at that time.
Several months later I ran across a deal online for a Ramia beech bench for under $300 and it has been my bench for anything that I have made since. While I might keep it forever for sentimental value (and it would be a great bench to learn on for my two young boys). It has several shortcomings that finally gave me enough excuses to decide to begin on my current project.
Around the same time I finally made the decision to make this bench Lost Art Press announced The Anarchist Workbench and it felt like it was some sort of a sign. That book solved so many of the nagging questions I had that had made me put this project off for so long in the past. The biggest was the material cost, in my past research I was leaning toward hard maple so it didn’t take long for the budget to get pushed way into the future like it did. But with Southern Yellow Pine I could make that work with my current budget and not have to skimp on the clamps since the BF$ of hard maple in my area didn’t look like it was going to come down anytime soon.
After a few disappointing trips to the big box home improvement warehouses locally I finally found about 100 BF of some REALLY old SYP at a local lumber dealer that mostly works with contractors and other customers ordering WAY more than what I was in the market for. This load got me started and then one more from another source gave me a stack that should get me over the finish line for all of the components except for the leg vice chop. Once I got all of these in my shop I was amazed with how dry they were, for everything I tested I was averaging 6-7% so it didn’t have to acclimate to my shop for long.
It was time to start milling the boards down and it didn’t take long to realize that if I wanted to rip these on my table saw I was going to either have to take it apart and move it in the yard, or knock a big hole in the wall to have the clearance. So I decided to rig up a longer out feed table to my 10” bandsaw and with the door open I found that I could get the rips done without having to do major construction.
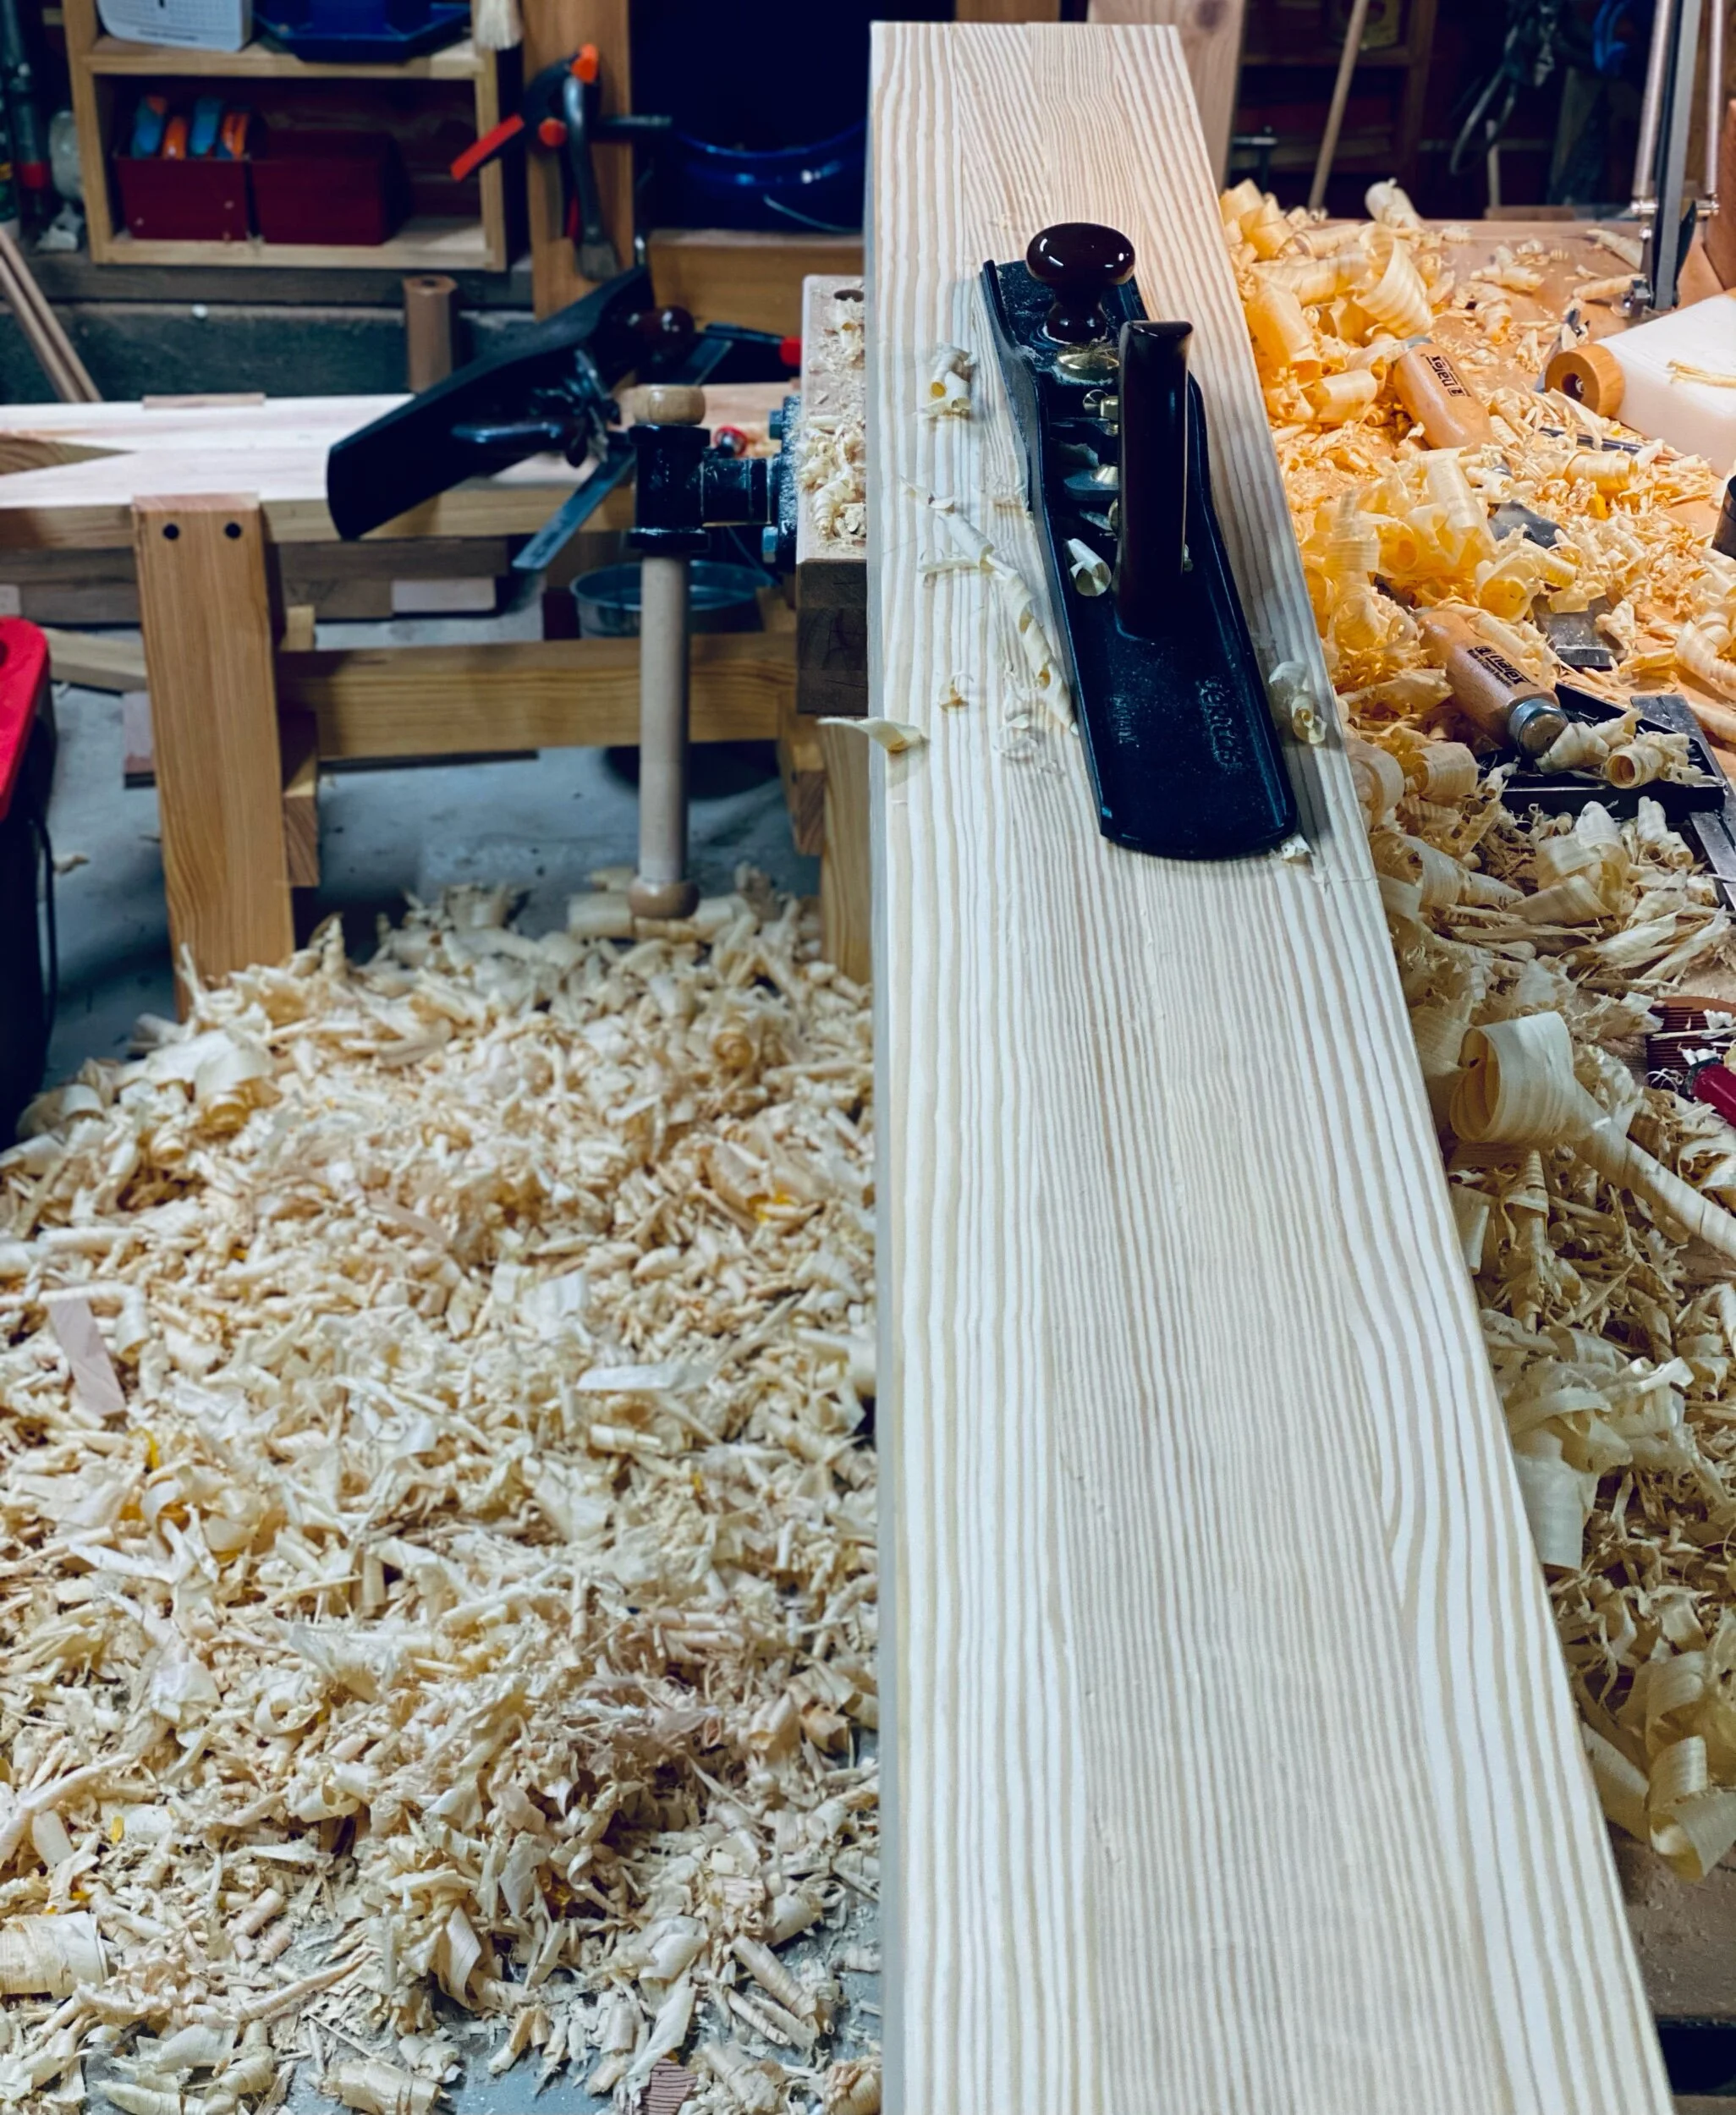
While I usually lean toward using hand tools whenever possible I do like to use some power for milling, so once I got everything ripped down to 5 1/4” I dusted off my little bench top jointer to aid in getting most of the boards close to their final thickness of 1.25”. I don’t own a planer so I knew my jack and jointer plane would be getting a workout soon enough.
The second load of SYP I found was 80%+ clear so I used most of that stock for the bench top, I could deal with a few more imperfections in the base. Another benefit I found working with SYP (Besides the smell that takes me back to middle school shop class) is that the clear boards plane like butter.
With all of my stock for the bench top true it was time to test fit everything in the clamps and after not seeing any gaps the clamps couldn’t pull in I popped the top off the gallon of Titebond I just picked up and laminated these 12 boards into three HEAVY components that would eventually be my bench top.
In the Anarchist Workbench Mr. Schwarz uses (18) 1.25” thick boards in his bench top. The second load of SYP I found was 2,3/16’ thick so instead of wasting a lot of good material I was able to only use 12 boards to create my 20” wide top.
Trying to work on the bench for a couple hours a day (I do have a real job) it took me a couple weeks to get the top finished once I had acquired the stock. Part II will be working on the base.

My first bench


Unconstructed Benchtop with each board numbered
The time spent squaring up the three laminations was time well spent.


Couldn’t ask for better “luck” in the glue up